Dog collar & tie

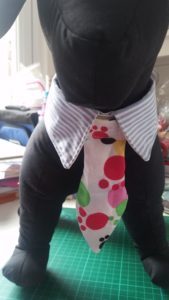
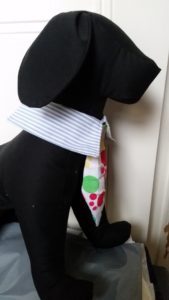
How would you like to make a gorgeous collar and tie like this one for your little (or big) boy? Ideal if your going somewhere special ?
I will show you how.
Firstly, measure your dogs throat including two of your fingers for a comfortable fit. Mine is for a dog with a 14″ (35.5cm) so I will explain with those sizes and you can adjust as necessary.
You can do this two ways, you can either make a collar and fixed tie like the one above or a collar with the ability to change the tie with a little Velcro strip.
For the tutorial I am going for the interchangeable tie ?
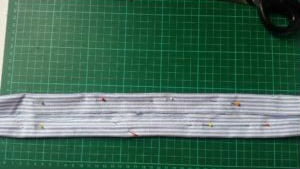
Choose your fabric for the collar, mainly it needs to be comfortable against the dogs throat, not too stiff or heavy. It also needs to be practical, easy to wash etc. I have gone for medium weight cotton.
You need a strip of approximately 40 x 11cm (15½” x 4½”) and 2 pairs of collar pieces (see template)


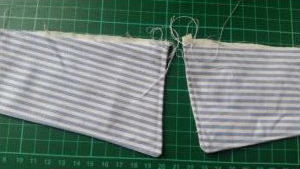
Fold both sides in on the collar fabric so both ends nearly touch each other and put aside. Then match up one side of the collar, one lining & one top fabric together, pin then sew three side leaving the part that joins the collar open. Then turn right side out.


Do the other one exactly the same then press, pin and stitch around the both collars.


Fold over and sew both ends of the collar and press so that you can remove the pins then fold over in half again and pin. Offer up the collar pieces allowing a little bit of a gap for the tie. Then pin in place and sew.


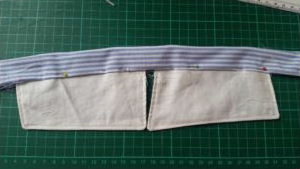
Stitch both sides of the collar and add a little Velcro patch where the tie is going to sit in the centre


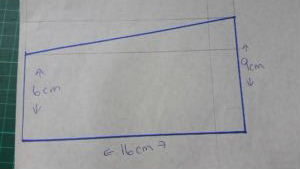
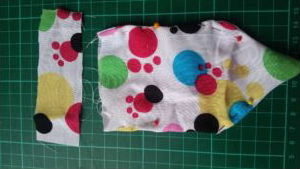
Sew Velcro on either end of the collar and then find the fabric for the tie. I chose a really bright, lightweight pawprint fabric. (see template for size)


Cut two, pin sew and trim and with a small scrap of matching fabric 2cm wider than the tie and approximately 3cm high

Fold over inside out and sew leaving one of the widest sides open and turn the right way
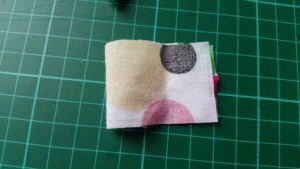


Its easier to pin the tie together as I have done if its a lightweight fabric to insert it into the ‘knot’. Tuck in the unhemmed side and pin. Then add a little patch of Velcro before sewing it all in place. This alleviates having too many sew lines


Finally add your tie ? Then make another one so your little man has a change ?